
![]()
Fire Immuniser
+91-7829629111
Email: info@variex.in
Varistor Technologies Pvt. Ltd.
Block-1, First Floor, Ardente Office One, Hoodi Circle, ITPL Main Road, Bengaluru, Karnataka 560048, IN
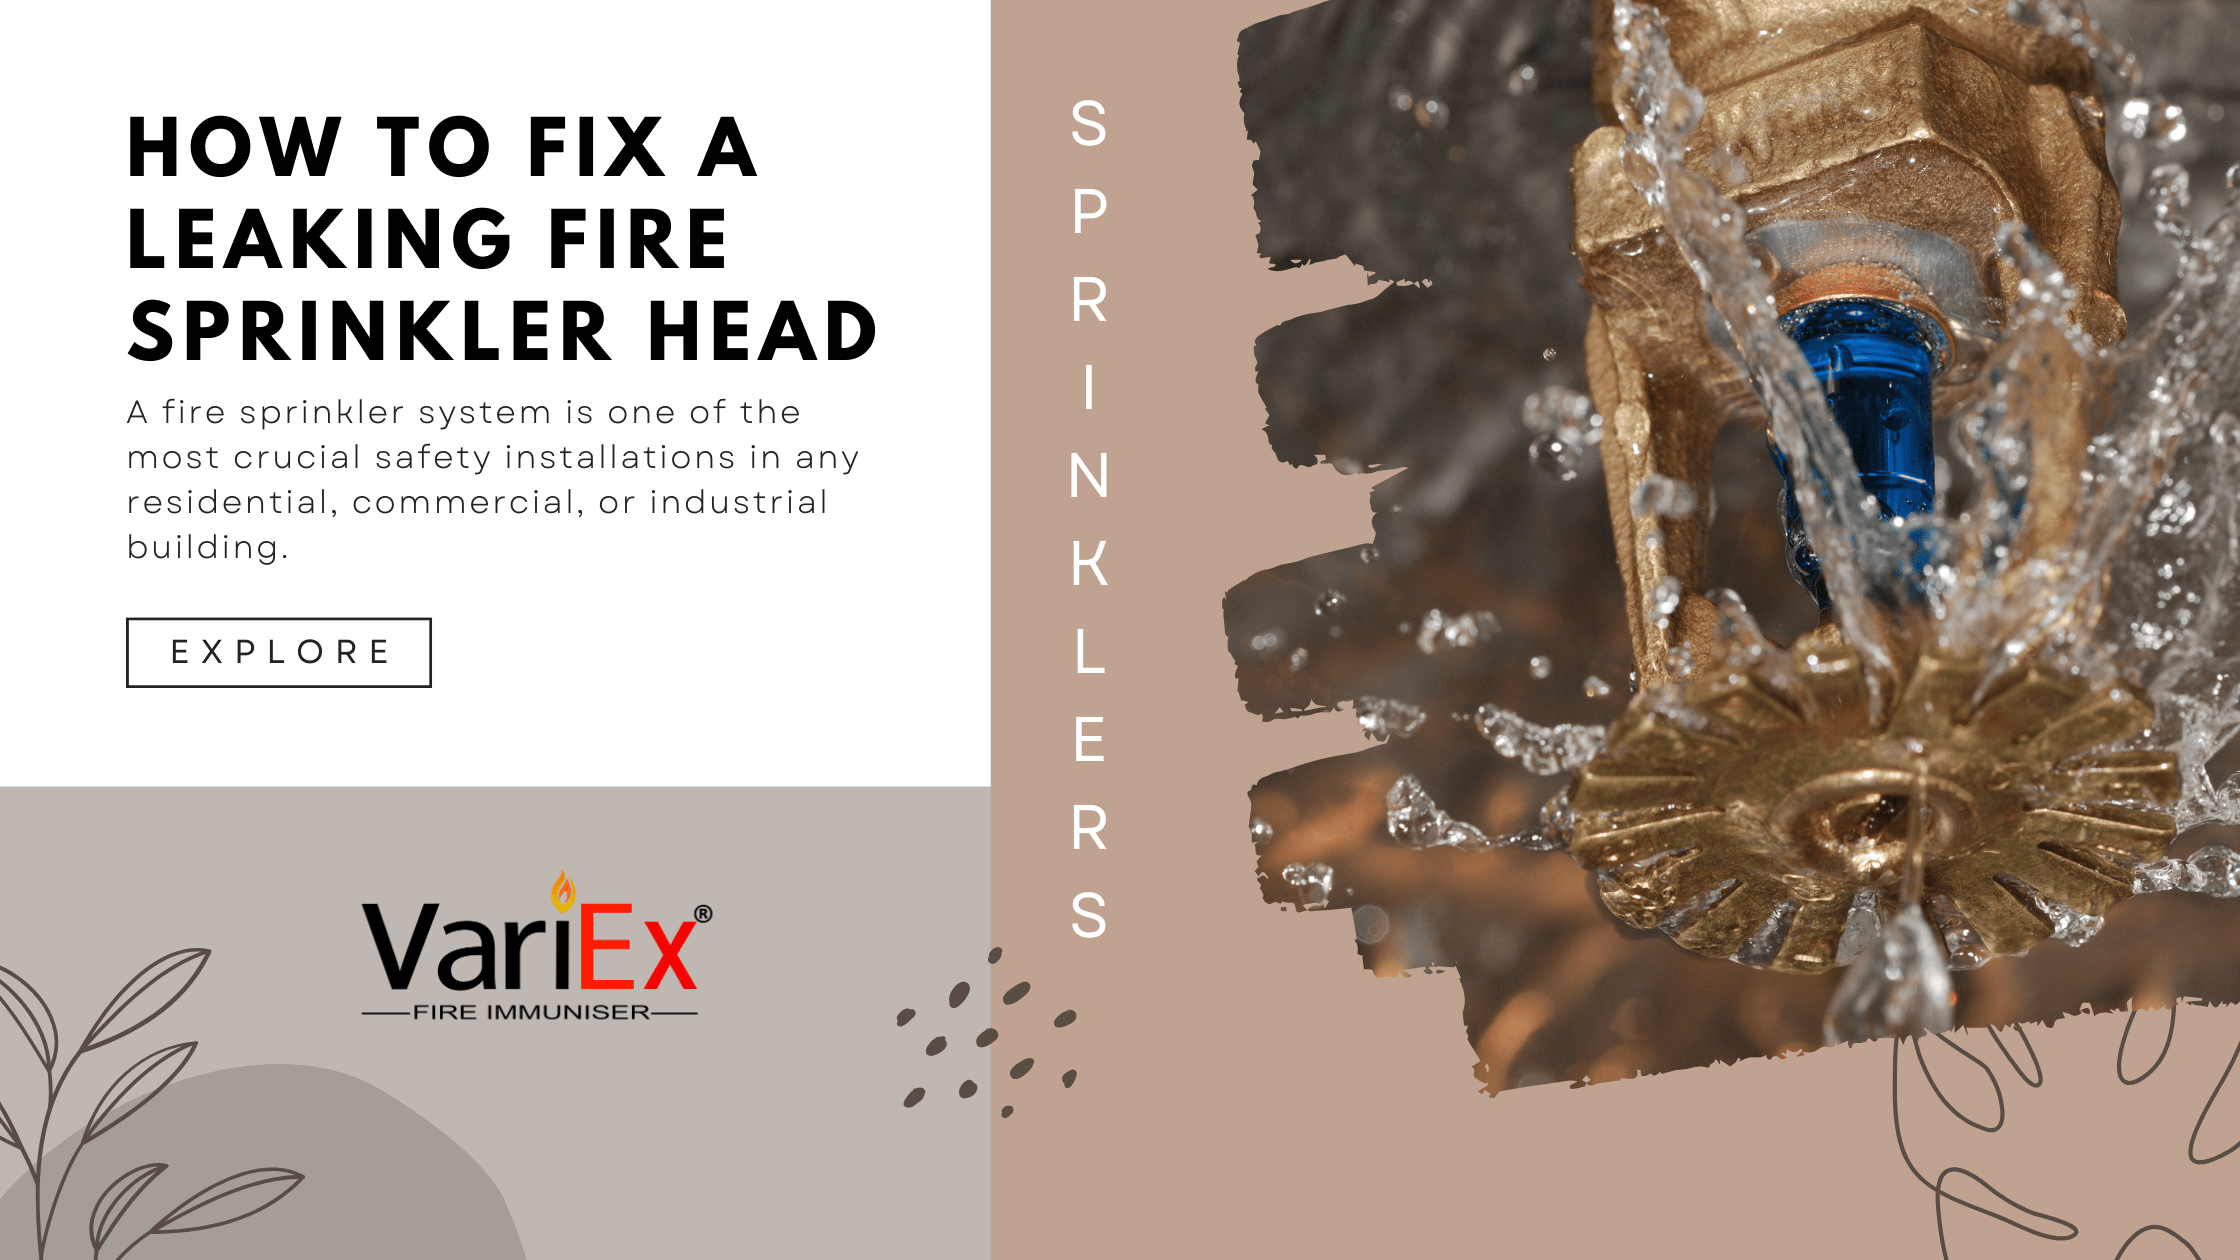
How To Fix A Leaking Fire Sprinkler Head
How To Fix A Leaking Fire Sprinkler Head
A fire sprinkler system is one of the most crucial safety installations in any residential, commercial, or industrial building. When functioning correctly, these systems provide a rapid response to fires, helping to contain or extinguish flames and protect lives and property. However, even the most robust systems can develop issues over time, with leaks in fire sprinkler heads being a common problem. Leaks, while seemingly minor, can lead to severe consequences if left unaddressed, including water damage, mold growth, and, most importantly, compromised fire protection.
Fire sprinkler head leaks can result from various causes, such as wear and tear, physical damage, or issues with water pressure. Sometimes, they are simply a sign that the system needs maintenance, while in other cases, they may signal the need for a replacement part. Knowing how to detect, diagnose, and fix a leaking fire sprinkler head is essential for building owners and maintenance personnel alike. Not only does prompt repair help avoid unnecessary repair costs, but it also ensures that your fire protection system will operate effectively when it’s most needed.
Outline: How to Fix a Leaking Fire Sprinkler Head
1. Understanding the Role of a Fire Sprinkler System
2. Common Causes of a Leaking Fire Sprinkler Head
3. Signs of a Leaking Fire Sprinkler Head
4. Safety Precautions Before Attempting Repairs
5. Essential Tools and Materials for Fixing a Leaking Sprinkler Head
6. Step-by-Step Guide to Fixing a Leaking Fire Sprinkler Head
7. Replacing the Fire Sprinkler Head
8. When to Call a Professional for Assistance
9. Preventive Maintenance Tips for Fire Sprinkler Heads
1. Understanding the Role of a Fire Sprinkler System
- Fire sprinkler systems are essential safety components in residential, commercial, and industrial buildings. They help detect and suppress fires, potentially saving lives and property by releasing water from the sprinkler heads upon detecting high temperatures.
- The sprinkler heads are key components that distribute water to extinguish flames in a fire emergency. Each head is sensitive to temperature, activating individually only when it detects heat directly above it, reducing unnecessary water damage.
- Understanding how these systems work helps clarify why a leaking sprinkler head can become a hazard, not only wasting water but compromising the overall effectiveness of the system.
2. Common Causes of a Leaking Fire Sprinkler Head
- Age and Wear: Like any mechanical part, sprinkler heads have a lifespan and can degrade over time. Older parts may develop cracks or become loose, leading to leaks.
- Physical Damage: A sprinkler head can be damaged by accidental impact, such as a knock from moving furniture or ladder. Such damage can misalign the sprinkler or loosen seals, causing leaks.
- Corrosion: Over time, metal parts can corrode, particularly in areas with hard water. Rust weakens the integrity of the sprinkler, leading to drips and leaks.
- High Water Pressure: If the water pressure is too high, it can force water through tiny cracks or weak seals, resulting in leakage.
- Temperature Variations: Sudden temperature changes can cause materials to expand and contract, weakening seals and joints.
- Manufacturing Defects: In rare cases, sprinkler heads may leak due to defects in manufacturing or assembly, causing premature wear and tear.
3. Signs of a Leaking Fire Sprinkler Head
- Visible water droplets or pooling around the sprinkler head are the most direct signs of a leak.
- Rust or mineral deposits on or near the sprinkler head indicate that water has been escaping.
- Discoloration on walls or ceilings near the sprinkler often shows that water has been slowly leaking for some time.
- Low water pressure or weak system performance, as well as poor water flow, are also potential indicators that the system is compromised.
- Early detection of leaks is essential to prevent more significant water damage or complete sprinkler malfunction in emergencies.
4. Safety Precautions Before Attempting Repairs
- Turn Off the Water Supply: Before working on the sprinkler, it’s crucial to locate and shut off the water supply to avoid unnecessary water damage and ensure safe repairs.
- Disable the Fire Alarm System: In most buildings, sprinkler systems are linked to fire alarms. Disabling the alarm system is important to avoid triggering a false alarm. Ensure this is done safely by contacting building management or an alarm service.
- Wear Protective Gear: Since leaks and potential water discharge are involved, wearing gloves and goggles can prevent accidents.
- Work with a Partner: It’s safer and more efficient to have assistance, especially if you’re working at heights or need help handling parts and tools.
5. Essential Tools and Materials for Fixing a Leaking Sprinkler Head
- Basic tools include an adjustable wrench, Teflon tape, and cleaning materials to help secure connections and remove debris.
- Necessary replacement parts like O-rings, gaskets, or even new sprinkler heads may be required based on the issue.
- Additional items like a ladder, flashlight, and a bucket to catch water during the repair are helpful to have on hand.
6. Step-by-Step Guide to Fixing a Leaking Fire Sprinkler Head
- Step 1: Shut Off the Water Supply: Locate the main valve and turn off the water to the sprinkler system to prevent further leakage.
- Step 2: Inspect the Sprinkler Head: Look for any visible damage, cracks, or loose parts. This helps identify the root cause of the leak.
- Step 3: Remove the Sprinkler Head: Carefully unscrew the sprinkler head, taking care not to damage nearby pipes or fittings.
- Step 4: Replace Damaged Parts: If seals, gaskets, or other small components show wear, replace them with compatible parts to restore a tight fit.
- Step 5: Clean the Area: Remove any corrosion, dust, or mineral buildup that could compromise the seal.
- Step 6: Reattach and Seal: Wrap Teflon tape around threads, and securely reattach the sprinkler head to prevent leaks.
- Step 7: Turn Water Back On and Test: Restore the water supply and test the system to confirm that no leaks remain.
7. Replacing the Fire Sprinkler Head
- If the sprinkler head itself is damaged beyond repair, it may need a complete replacement. Ensure the new head is compatible with the system’s specifications.
- To install a new sprinkler head, remove the old one carefully, install the replacement, and follow manufacturer guidelines to secure it in place.
- After installation, test the new sprinkler head by turning on the water supply and ensuring it remains leak-free.
8. When to Call a Professional for Assistance
- If the leak persists despite your repair efforts, or if you detect corrosion on pipes or complex issues, it’s best to consult a licensed fire sprinkler technician.
- Professionals can perform detailed inspections and ensure repairs align with local fire codes.
- While DIY repairs can save money, calling a technician is often worthwhile for complex issues that may impact safety or system integrity.
9. Preventive Maintenance Tips for Fire Sprinkler Heads
- Regular Inspections: Regular checks for signs of wear, corrosion, and damage help spot potential problems early.
- Clear Sprinkler Head of Dust and Debris: Keep sprinkler heads clean, as dust or grime can impair activation or cause blockages.
- Monitor Water Pressure: Checking water pressure regularly can prevent leaks by reducing stress on sprinkler seals.
- Seasonal Maintenance: Preparing the system for winter (insulating exposed pipes) and managing humidity in summer can extend the sprinkler’s lifespan.
Conclusion
- Fixing a leaking fire sprinkler head involves identifying the leak’s cause, conducting safe repairs, and performing preventive maintenance to ensure long-term functionality.
- Routine inspections and early detection are key to preventing damage and ensuring your fire sprinkler system is always ready to perform in an emergency.
- For major issues or complex repairs, hiring a professional ensures the system remains compliant with fire safety standards and fully functional.

Frequently Asked Questions
Every six months is a common recommendation, though local fire safety regulations may vary.
Minor leaks may be fixed DIY, but serious issues are best handled by professionals.
No, paint can clog or obstruct the sprinkler’s heat detection.
Immediately turn off the water supply and contact a technician for inspection.
Yes, different types like pendant, upright, or sidewall sprinklers may require specific maintenance.
Buy Fire Extinguishers Online ----------------------
Check Our Complete Fire Extinguishers Price List.
Final Say
At VariEx.in and VariexOnline.com, we specialize in supplying and installing top-quality fire fighting systems and equipment. From fire extinguishers to advanced suppression systems, we offer comprehensive solutions tailored to your needs. Our experienced team ensures precise installation and maintenance for optimal safety.
Trust VariEx for reliable fire protection. Contact us online or call 7829629111 to learn more.
We specialize in manufacturing, supplying, and distributing a comprehensive range of fire fighting equipment, including state-of-the-art fire extinguishers. Read our most searched blogs and find interesting information on topics such as how to use a fire extinguisher, how to calculate fire fighting water tank capacity, fire extinguisher refilling, obtaining a Fire NOC, understanding fire fighting systems, types of fire protection systems, the fire hydrant system, and the fire sprinkler system. These resources provide essential knowledge for ensuring safety and compliance with fire safety regulations. Additionally, you can explore guides on the maintenance of fire protection equipment, the latest advancements in fire safety technology, and best practices for fire risk assessment and management.
Our expertise extends to fire alarm systems, fire hydrant systems, and fire suppression systems, including fire sprinklers. Each product meets rigorous international standards for reliability and performance, ensuring effective fire safety products tailored to diverse applications and industries. Additionally, we are providing Fire Extinguisher Refilling and AMC services to ensure ongoing maintenance and operational readiness of fire safety equipment.
"WHAT YOU CAN READ NEXT"
 Read more +24 November 2023 in Fire Extinguisher
What types of fire extinguishers are available for different fire classes?
 Read more +18 April 2025 in Fire Suppression
