
![]()
Fire Immuniser
+91-7829629111
Email: info@variex.in
Varistor Technologies Pvt. Ltd.
Block-1, First Floor, Ardente Office One, Hoodi Circle, ITPL Main Road, Bengaluru, Karnataka 560048, IN
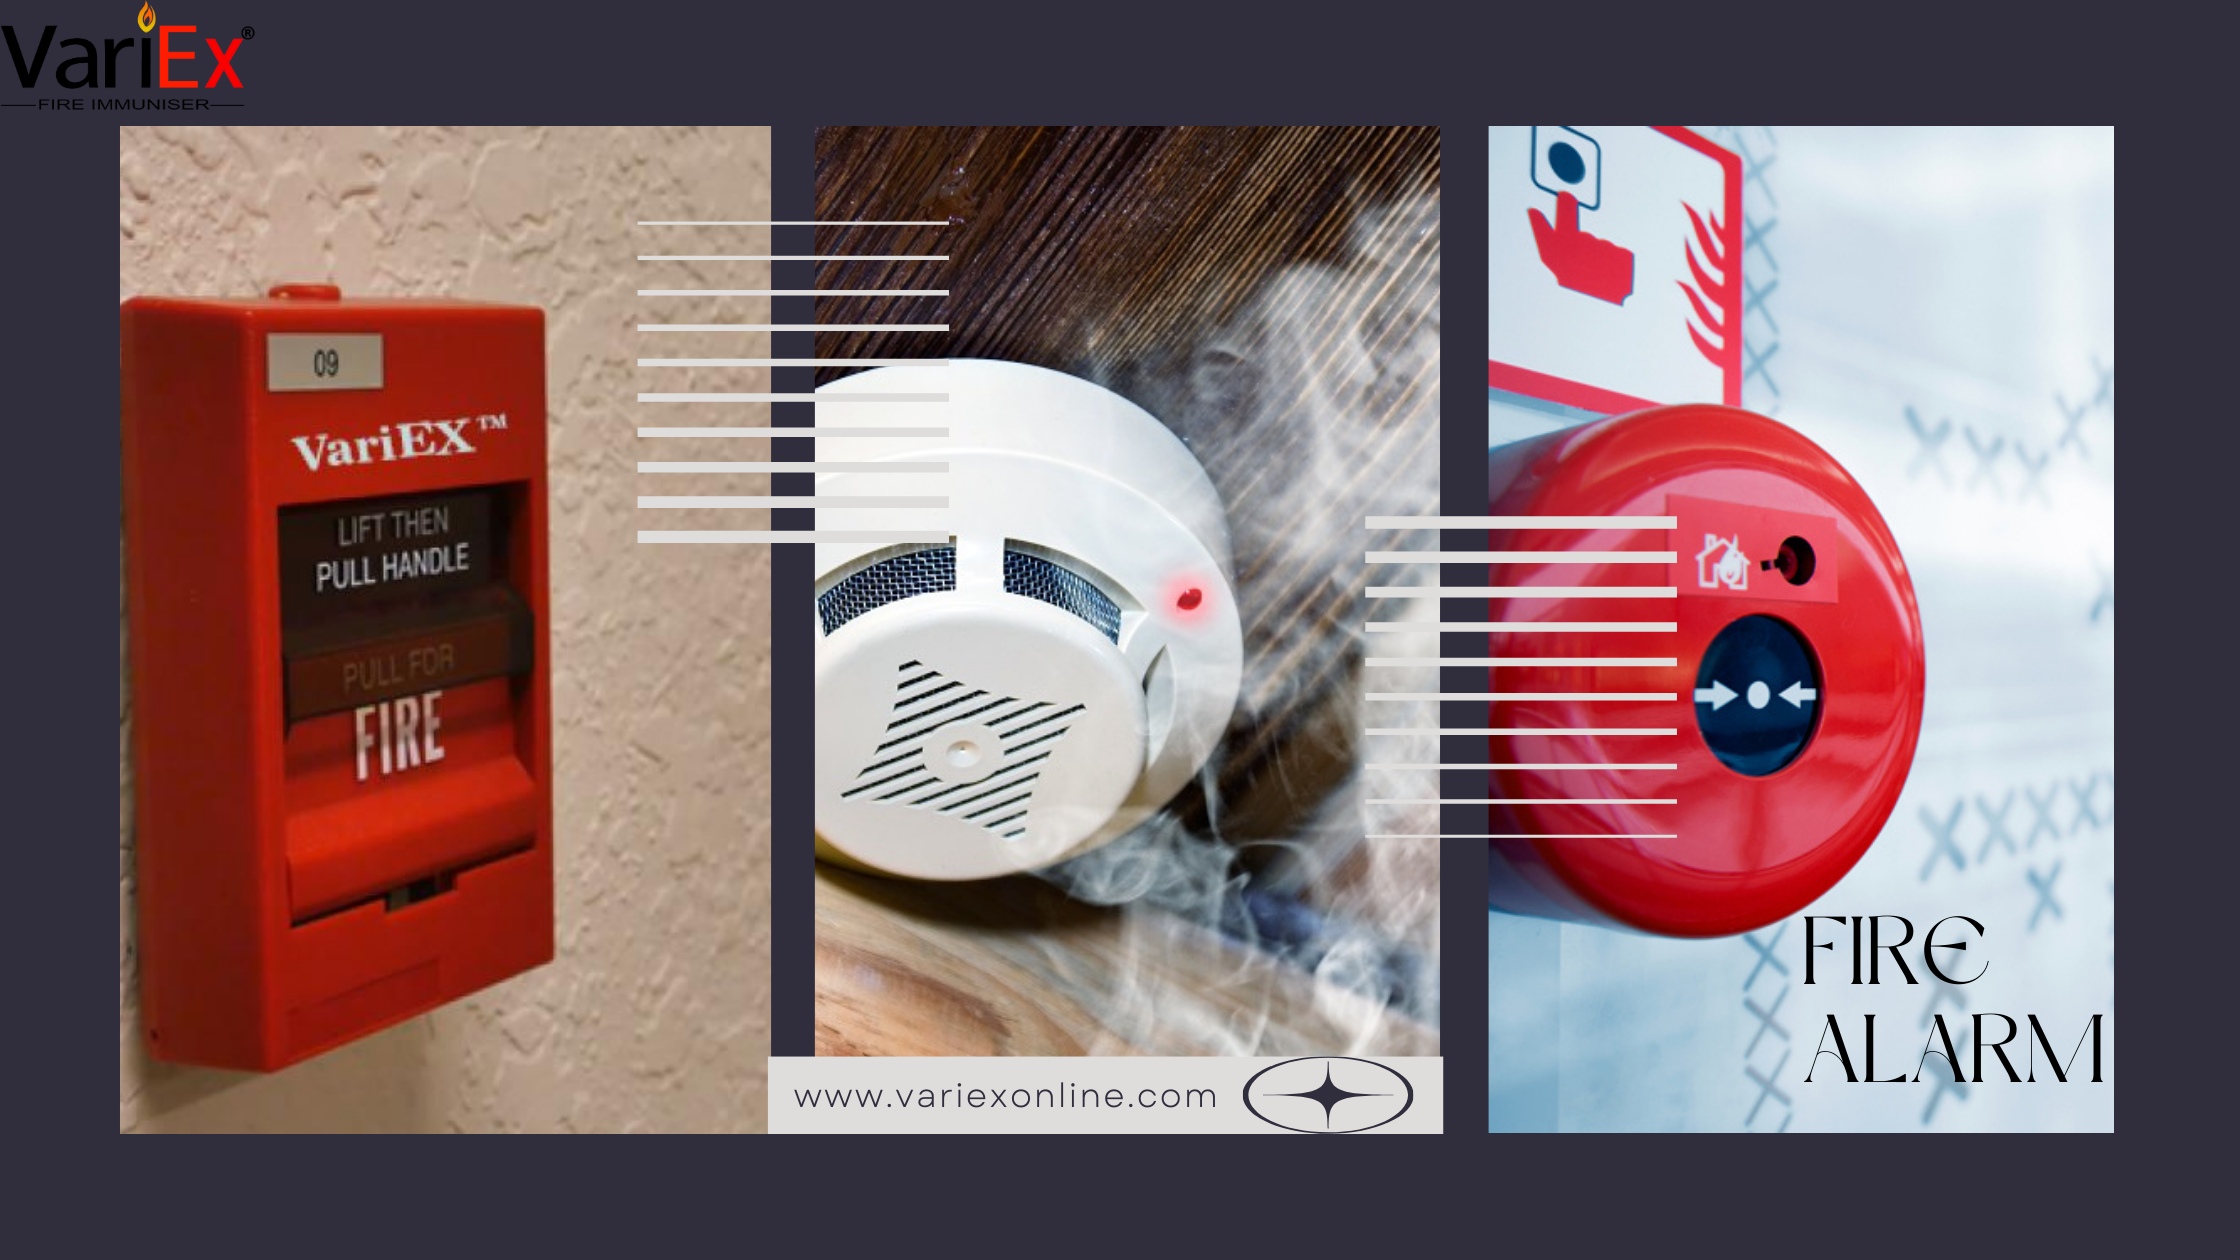
How To Install Fire Alarm System Step By Step
How To Install Fire Alarm System Step By Step
Installing a fire alarm system is a critical task that ensures the safety of building occupants in case of a fire. Whether you are installing a fire alarm system in a new building, upgrading an existing system, or setting one up for a smaller space, it's important to follow a structured and safe process. Below is a comprehensive, step-by-step guide to help you properly install a fire alarm system.
Step 1: Plan and Design the Fire Alarm System
Planning is the first and most important step in any fire alarm installation project. It ensures that the system meets the needs of the building and complies with local fire safety regulations.
1.1 Determine the Type of System
Decide which type of fire alarm system suits your needs. The two main types are:
- Conventional Fire Alarm Systems: Typically used for smaller buildings, these systems divide the building into zones. They are simple but offer limited detail on where the fire is located.
- Addressable Fire Alarm Systems: More advanced, these systems allow for each device to have a unique address, enabling precise identification of the fire’s location.
1.2 Identify Key Components
You will need to plan where to install the following key components:
- Control Panel: The heart of the system, which monitors all alarms.
- Smoke Detectors: Required in hallways, rooms, and any high-risk areas.
- Heat Detectors: Used in areas where smoke detectors might be prone to false alarms (e.g., kitchens).
- Manual Call Points (Pull Stations): Installed at exits or in hallways for manual activation.
- Alarm Sounders and Visual Indicators: To alert building occupants in case of an emergency.
- Wiring: For connecting the devices to the control panel.
1.3 Check Local Codes and Standards
Before proceeding, check with local authorities or fire safety regulations for any codes or standards (like NFPA 72, the National Fire Alarm and Signaling Code) that may affect the installation. This will ensure that the system complies with legal requirements.
Step 2: Gather the Necessary Tools and Materials
You will need the following tools and materials for the installation:
- Fire Alarm System Kit (control panel, detectors, pull stations, etc.)
- Wiring (typically 16/2 or 18/2 gauge wire for fire alarm systems)
- Cable Clips and Conduits (for securing wires)
- Mounting Hardware (screws, anchors, etc.)
- Drill with appropriate bits
- Screwdriver
- Wire Strippers
- Level (for ensuring proper alignment of devices)
- Test equipment (to ensure the system works properly after installation)
Step 3: Install the Control Panel
The control panel is the central unit of the fire alarm system. It is typically installed in a secure, easily accessible location, such as near the building’s entrance or in an electrical room.
3.1 Mount the Panel
- Use a level to mount the panel at a comfortable height for operation, typically around eye level.
- Secure the panel to the wall using the provided mounting hardware.
3.2 Power Supply
- Connect the control panel to the main power supply and ensure it is also connected to a backup power source (like a battery) in case of power failure.
- Verify that the control panel is receiving power by checking for the "Power On" indicator.
3.3 Wiring the Control Panel
- Run the appropriate wiring from the control panel to the detectors, pull stations, and other components.
- Ensure that the wiring is properly labeled for easy troubleshooting and future maintenance.
Step 4: Install the Detectors
The placement of smoke and heat detectors is crucial for the effectiveness of the fire alarm system.
4.1 Smoke Detectors
- Install smoke detectors on the ceiling, as smoke rises and collects at the highest point in a room.
- In general, detectors should be placed at least 4 inches from the wall and away from obstructions like light fixtures or fans.
- In large rooms, additional detectors may be required to ensure adequate coverage.
4.2 Heat Detectors
- Install heat detectors in areas prone to high humidity, dust, or airflow disturbances (e.g., kitchens, bathrooms, and mechanical rooms).
- Ensure they are mounted according to manufacturer guidelines, usually 6 to 10 feet above the floor.
4.3 Wiring the Detectors
- Connect each detector to the fire alarm system wiring according to the manufacturer’s instructions.
- For conventional systems, detectors are often connected in series, while for addressable systems, each detector will have a unique address.
4.4 Test Detectors
- After installation, test each detector to ensure it is functioning correctly. Some detectors have a test button; otherwise, you may need to use smoke or heat simulators.
Step 5: Install Manual Call Points (Pull Stations)
Manual call points are devices that allow building occupants to trigger the fire alarm in the event of a fire. They are typically located near exit doors and in hallways.
5.1 Location of Call Points
- Install manual pull stations in easily accessible locations, typically near exits or in hallways, at a height of about 4 to 5 feet from the ground.
- Ensure they are not obstructed by furniture, doors, or other obstacles.
5.2 Wiring the Call Points
- Connect the wiring from the call points to the fire alarm system.
- Test the call points by activating them (usually, you pull the lever) and confirming the alarm sounds.
Step 6: Install Alarm Sounders and Visual Indicators
Alarm sounders (bells, horns, or sirens) are essential for alerting building occupants to evacuate. Visual indicators, like flashing strobes, are crucial for hearing-impaired individuals.
6.1 Placement of Sounders
- Install sounders in hallways, stairwells, and rooms to ensure the alarm is heard across the building.
- Ensure sounders are placed in high-traffic areas and are not obstructed by walls or doors.
6.2 Placement of Visual Indicators
- Strobe lights should be installed in areas where sound alone may not be sufficient, such as large rooms or areas where people with hearing impairments may be present.
6.3 Wiring the Sounders and Visual Indicators
- Connect the sounders and strobes to the fire alarm control panel.
- After installation, verify that all sounders produce an audible alarm and that all strobe lights flash when the system is activated.
Step 7: Test the System
Testing the fire alarm system is crucial to ensure everything is working as it should.
7.1 Conduct a System Check
- Verify all components (detectors, call points, sounders, visual indicators) are properly wired and functioning.
- Use the test functions provided by the fire alarm panel to simulate smoke or heat and ensure the system responds appropriately.
7.2 Perform Manual Activation
- Test manual call points by activating them to ensure the alarm triggers.
7.3 Confirm Power and Battery Backup
- Ensure the system works on both main power and backup battery.
Step 8: Finalize the Installation
After confirming that the system works properly:
8.1 Clean up
- Remove any debris or excess wiring.
- Ensure all devices are securely mounted and that the wiring is tidy and safe.
8.2 Educate Occupants
- Provide training or instructions to building occupants on how to respond to fire alarms, including the locations of manual pull stations and exit routes.
Step 9: Regular Maintenance and Inspection
Once the system is installed, it's crucial to set up a regular maintenance schedule to ensure the fire alarm system continues to operate effectively. This includes:
- Testing detectors monthly.
- Replacing batteries annually.
- Conducting a full inspection annually or bi-annually by a certified professional.
Conclusion
Installing a fire alarm system is a detailed and critical task that involves careful planning, wiring, and testing to ensure everything functions properly in the event of a fire. By following this step-by-step guide, you can install a fire alarm system that will help protect the safety of building occupants and comply with fire safety regulations. Always consult with professionals or local authorities if you’re unsure about any aspect of the installation process.


Explore our products Range


Final Say
At VariEx.in and VariexOnline.com, we specialize in supplying and installing top-quality fire fighting systems and equipment. From fire extinguishers to advanced suppression systems, we offer comprehensive solutions tailored to your needs. Our experienced team ensures precise installation and maintenance for optimal safety.
Trust VariEx for reliable fire protection. Contact us online or call 7829629111 to learn more.
"WHAT YOU CAN READ NEXT"
 Read more +24 November 2023 in Fire Extinguisher
What types of fire extinguishers are available for different fire classes?
 Read more +11 April 2025 in Fire Suppression

